The sample application to demonstrate this is built using Visual Studio Code, and assumes that you have the C# extension added, but the sample will work in Visual Studio too.
Create a folder in a suitable location and name it RazorPartialToString.
Open the folder within VS Code and bring up the terminal by pressing Ctrl+'.
Create a new Razor Page application by typing
dotnet new razor. Whenever you get a message "Required assets to build and debug are missing... Add them?", click Yes.Create folder named Services by typing
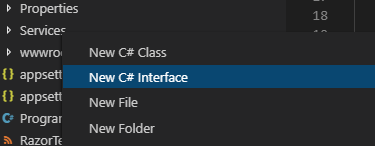
mkdir Services.Add an interface to the Services folder named IRazorPartialToStringRenderer.cs. This is more easily accomplished if you have the C# Extensions extension installed in your VS Code. You can add the file by right-clicking on the folder:

The full code for the file follows:
Add a C# class file to the Services folder named RazorPartialToStringRenderer.cs with the following code:
This code is responsible for locating the specified partial, and then rendering its output to a
StringWriter, and then returning the content of the writer as a string. Much of the code is similar to that found in the Partial Tag Helper source code.Add another interface to the Services folder, this time called IEmailService.cs with the following content:
Now add the following implementation named DemoEmailService.cs:
This is just standard boiler-plate email sending code that uses the
SpecifiedPickupDirectorydelivery method, ensuring that any generated emails are placed in the specifiedPickupDirectoryLocationrather than actually being sent via an SMTP server. It enables easy testing of email functionality without being reliant on an Internet connection, or having to wait for the generated email to be delivered. There is nothing special about the location c:\maildump. Feel free to alter the actual location that the email will be saved in to suit your environment.Register the services in the
ConfigureServicesmethod in theStartupclass:services.AddMvc().SetCompatibilityVersion(CompatibilityVersion.Latest); services.AddTransient<IEmailService, DemoEmailService>(); services.AddTransient<IRazorPartialToStringRenderer, RazorPartialToStringRenderer>();Create a Contact page using the following command:
dotnet new page -n Contact -o Pages -na RazorPartialToString.PagesNote: this is only necessary if you are using ASP.NET Core 2.2. Previous versions of the Razor Pages project template included a basic Contact page.
Alter the content of the PageModel file (Contact.cshtml.cs) as below:
A wrapper class for some form values is declared (
ContactForm), and is added to the PageModel as a bound property. Its contents are passed to the string rendering service in theOnPostAsyncmethod to generate the body of an email, which is sent via the email service.Alter the content page (Contact.cshtml) so that it contains the following code:
Create a new file in the Pages/Shared folder named _ContactEmailPartial.cshtml with the following code:
This file acts as template for the body of the email message. It takes the
ContactFormclass as a model. Importantly, the layout page is set tonullto prevent the ViewStart file applying one. The styles for the HTML are specified inline because most desktop email clients don't support referencing external style sheets.Run the application by executing the
dotnet runcommand from the terminal.Navigate to
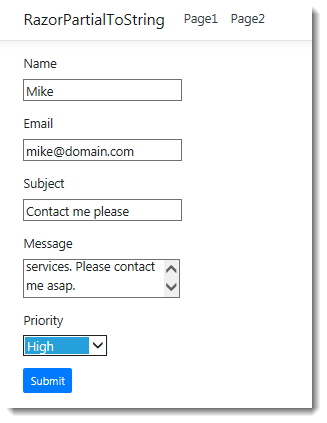
https://localhost:5001/contactand enter some values into the form
Press submit, and then check the location of your specified pickup directory as suggested in the message rendered to the browser. You should have a .eml file there:

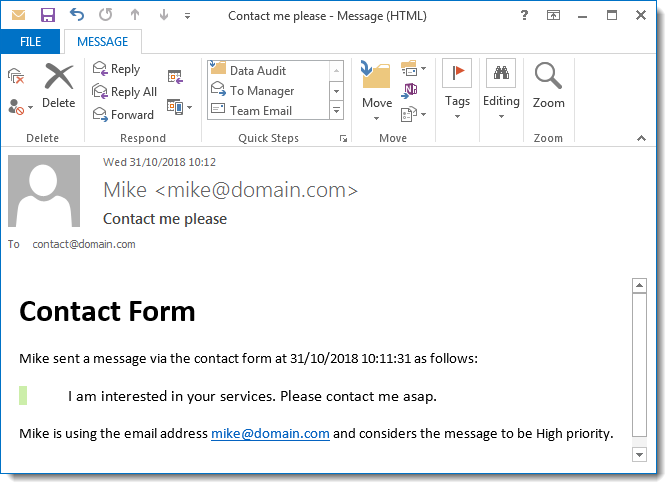
When you open it in your default mail client, you should see a properly formatted email:

Summary
The Razor templating system is designed to be repurposed for other uses. This example demonstrate how it can be used to manage the generation of emails. Although this example is pretty simple, it should also serve to illustrate how much easier it is to manage email design using Razor rather than concatenating strings to render HTML.
